If you have been searching for a simple and clear IP camera installation and configuration guide, you are in the right place. Whether you are setting up a camera at home, a shop, or an office in Hyderabad, this guide will help. It covers everything from what an IP CCTV camera is to the full installation process, step by step.
What is an IP CCTV Camera?
An IP CCTV camera is a digital security camera. It sends and receives video over a network. It works like your phone or laptop on the internet.
Unlike older analogue cameras that need a cable to a DVR, an IP camera connects to an NVR or router.
It uses an Ethernet cable or WiFi.
This means you can:
- ✔ Watch live footage from your phone, anywhere in the world
- ✔ Get motion detection alerts in real time
- ✔ Store recordings locally on an NVR or in the cloud
- ✔ Use AI features like person detection, face detection, and vehicle alerts
IP cameras offer higher resolution than HD analogue cameras.
They range from 2MP to 4K.
This makes them a strong choice for new CCTV installs in 2026.
Which CCTV is Better — IP or HD?
This is one of the most common questions people ask before investing in a security system. Here is a simple comparison:
| Feature | IP Camera | HD Analogue Camera |
|---|---|---|
| Resolution | Up to 4K (8MP) | Up to 5MP |
| Cabling | Single Cat6 Ethernet (PoE) | Coaxial cable |
| AI Features | Yes — person, face, vehicle detection | Limited |
| Remote Access | Easy via app | Requires extra setup |
| Cost (per camera) | ₹3,000 – ₹20,000 | ₹1,500 – ₹8,000 |
| Best For | New installations, offices, tech users | Upgrading existing wired systems |
Verdict: For any new setup in 2026, IP CCTV cameras are the better choice. They are smarter, clearer, and more future-proof. HD analogue cameras still make sense only if you are upgrading an older system that already has coaxial wiring in place.
IP Camera Installation Packages
Before starting the IP camera installation process, it helps to know what the total cost looks like. Below is a realistic breakdown for Hyderabad:
| Setup Type | Number of Cameras | Estimated Cost (Installed) |
|---|---|---|
| Basic Home | 2 – 4 IP cameras | ₹12,000 – ₹22,000 |
| Standard Home / Shop | 4 – 8 IP cameras | ₹22,000 – ₹45,000 |
| Office / Commercial | 8 – 16 IP cameras | ₹45,000 – ₹1,00,000+ |
| Per camera installation charge | — | ₹400 – ₹700 per camera |
Factors that affect IP camera installation cost:
- ✔ Number of cameras and camera brand (CP Plus, HiFocus, Prama, etc.)
- ✔ Wired (PoE) vs wireless (WiFi) setup
- ✔ NVR capacity and hard disk size
- ✔ Building layout and cable length
- ✔ Professional labour charges in your area
If you are looking for IP camera installation Packages in Hyderabad, most professional services offer a free site survey before providing a final quote.
IP Camera Installation & Configuration Step-by-Step
Here is the complete IP camera installation process for both wired (PoE) and wireless setups.
What You Need Before You Start
For a wired IP CCTV camera installation, keep these ready:
- ✔ IP cameras (PoE compatible)
- ✔ Cat6 Ethernet cables
- ✔ PoE switch or NVR with built-in PoE ports
- ✔ NVR (Network Video Recorder)
- ✔ Hard disk drive (surveillance-grade, e.g., 1TB or 2TB)
- ✔ HDMI cable (to connect NVR to monitor)
- ✔ Drill machine, screwdriver, wall anchors, cable clips
For a wireless IP camera installation, you need:
- ✔ WiFi IP cameras
- ✔ Strong WiFi router (dual-band recommended)
- ✔ Power adapter for each camera
- ✔ Mobile phone for app setup
Step 1: Plan Your Camera Placement
Walk around your property and mark every area that needs coverage. Common locations include:
- ✔ Main entrance and front door
- ✔ Parking area or driveway
- ✔ Back door or rear entrance
- ✔ Shop counter or cash area
- ✔ Living room, hallway, or staircase (for indoor setups)
Good placement planning reduces blind spots and means you need fewer cameras overall. This is the most important step in any IP camera installation process.
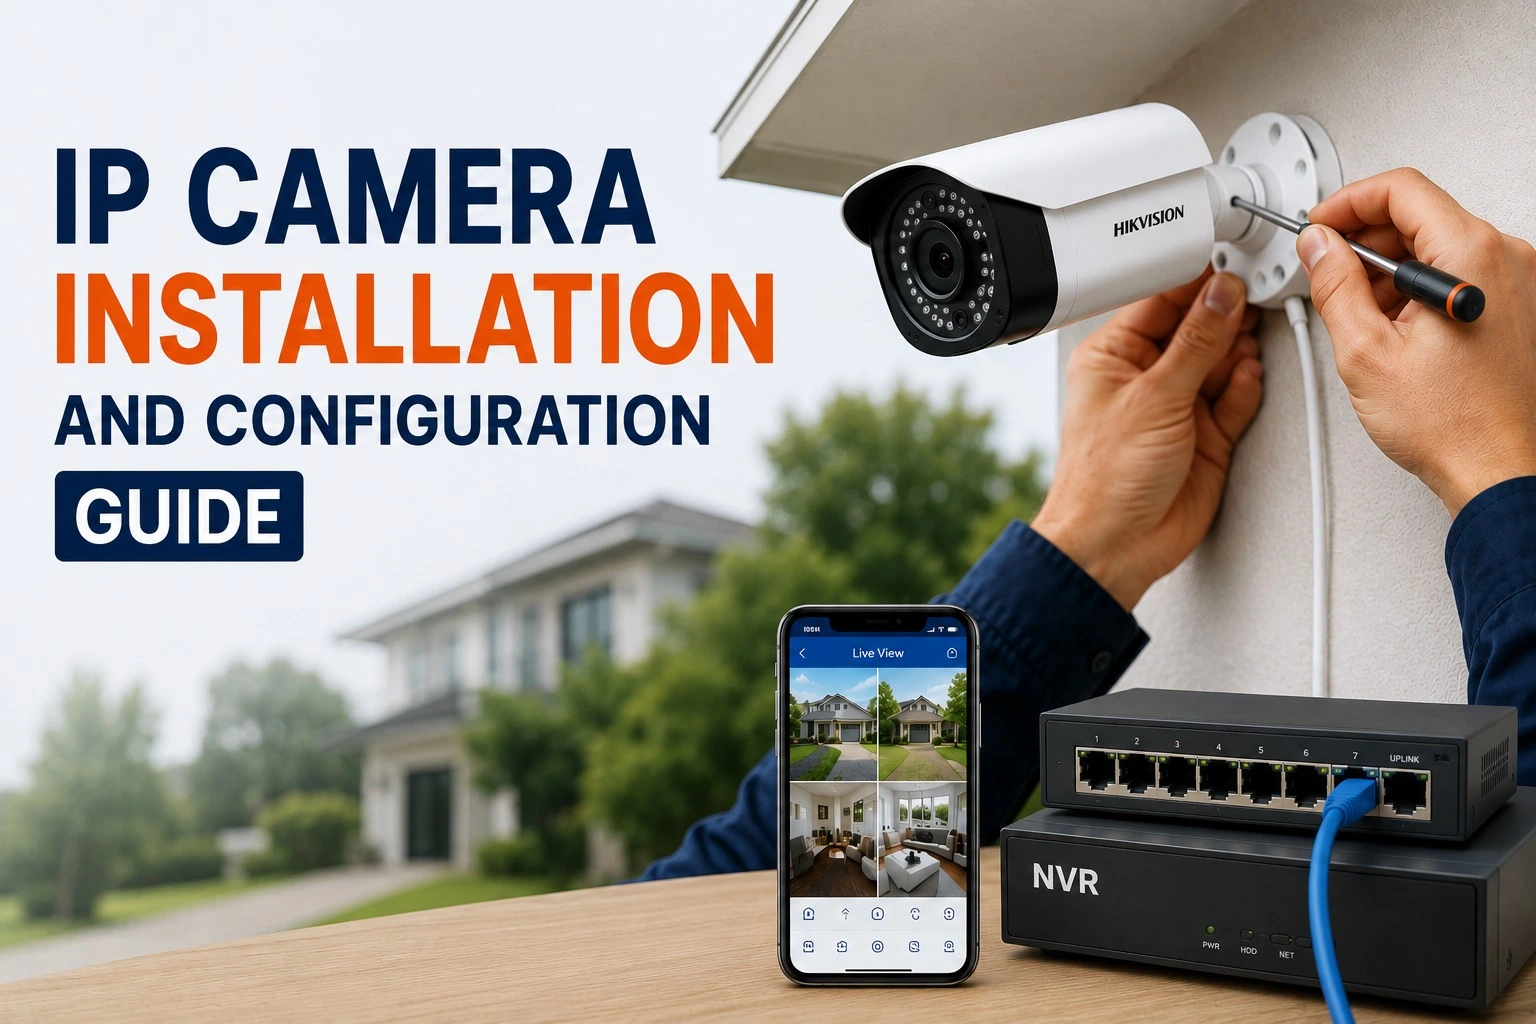
Step 2: Mount the Cameras
Once you have marked the positions:
- 1. Hold the camera bracket against the wall or ceiling and mark the drill points
- 2. Drill holes and fix wall anchors
- 3. Attach the bracket firmly and mount the camera on it
- 4. Adjust the camera angle to cover the target area
- 5. For outdoor cameras, ensure they face away from direct sunlight and are sheltered from rain
For IP dome camera installation on ceilings, remove the dome cover, fix the base plate, route the cable through the back, and reattach the dome after connecting the cable.
Step 3: Run the Cables
For wired IP CCTV camera installation:
- 1. Route Cat6 Ethernet cables from each camera location back to where your NVR or PoE switch is placed
- 2. Keep cables inside conduit pipes or run them through walls for a clean finish
- 3. Label each cable end to identify which camera it belongs to
- 4. Leave some extra cable length at both ends for flexibility
For wireless cameras, skip this step — just ensure the WiFi signal is strong at each camera location. Use a WiFi extender if needed.
Step 4: Connect Cameras to the NVR or PoE Switch
For wired setups:
- 1. Plug each Cat6 cable from the cameras into the PoE ports on your NVR or PoE switch
- 2. Connect the NVR to your router using another Ethernet cable
- 3. Connect the NVR to a monitor using an HDMI cable
- 4. Power on the NVR — cameras should automatically appear on the screen
One of the biggest advantages of PoE cameras is that a single cable carries both power and data, so there is no need for a separate power adapter at each camera.
Step 5: IP Camera Configuration
This is the configuration part of your IP camera installation and configuration process.
On the NVR screen:- 1. Go to Settings → Camera Management → Add Camera
- 2. The NVR will automatically detect all cameras connected to its PoE ports
- 3. If cameras are not detected, click Search to find them on the network
- 4. Assign a name to each camera (e.g., "Front Door", "Parking", "Shop Counter")
Set a Static IP Address: Dynamic IP addresses can change after a restart, which causes cameras to disconnect. To avoid this:
- ✔ Go to each cameras settings and assign a fixed (static) IP address
- ✔ Or configure IP reservations on your router for each cameras MAC address
Step 6: Configure Recording Settings
- 1. Go to Settings → Recording on your NVR
- 2. Choose your preferred recording mode:
- ✔ Continuous — records 24/7 (uses more storage)
- ✔ Motion-triggered — records only when movement is detected (saves storage)
- ✔ Scheduled — records during specific hours
- 3. Insert a surveillance-grade hard disk into the NVR if not already installed
- 4. Format the hard disk from the NVR settings before first use
Storage tip: A 1TB hard disk stores approximately 20–30 days of footage for a 4-camera setup recording at 1080p. For 4K cameras, plan for 2TB or more.
Step 7: Set Up Mobile App Access
This step lets you view live footage from your phone — anywhere, anytime.
- 1. Download your NVR brands app (e.g., iVMS-4500 for Hikvision, gCMOB for CP Plus, DMSS for Dahua)
- 2. Open the app and tap Add Device
- 3. Scan the QR code on your NVR or enter the device serial number manually
- 4. Set a strong password for remote access
- 5. Test the live view — you should be able to see all camera feeds from your phone
Step 8: Test the Full System
Before closing the installation, test every part of the system:
- ✔ Check each camera feed for clarity and correct angle
- ✔ Test night vision in a dark area
- ✔ Trigger motion detection and confirm that you receive an alert
- ✔ Replay recorded footage to confirm storage is working
- ✔ Test remote access from a different WiFi network or mobile data
CP Plus IP Camera Installation — Special Notes
CP Plus is Indias most popular STQC-certified IP camera brand in 2026. Here are a few things to note specifically for CP Plus IP Camera Installation:
- ✔ CP Plus IP cameras use the gCMOB app for mobile access
- ✔ Most CP Plus NVRs auto-detect PoE cameras without manual IP entry
- ✔ CP Plus cameras support ONVIF, so they are compatible with third-party NVRs as well
- ✔ The default admin password must be changed immediately after the first login for security
- ✔ Always check for the STQC certification label before purchasing CP Plus cameras in India — all certified models will have it.
IP Camera Installation Service in Hyderabad
While this guide covers everything for a DIY setup, many homeowners and businesses prefer to hire a Professional IP camera installation services — especially for outdoor wired systems with four or more cameras.
A professional installer will:
- ✔ Conduct a free site survey and recommend the right camera positions
- ✔ Route cables neatly inside walls or conduit pipes
- ✔ Configure the NVR, recording settings, and mobile app
- ✔ Set up motion alerts and test the full system before handover
- ✔ Provide a warranty on installation workmanship
If you are searching for an IP camera installation near me in Hyderabad, look for a service provider with experience in CP Plus, HiFocus, or Prama systems — all of which are STQC certified and legal to install in India in 2026.
Frequently Asked Questions
Final Thoughts
IP camera installation and configuration does not have to be complicated. With the right planning, the correct cables, and a good NVR, most setups can be completed in a few hours. For small indoor setups, DIY is perfectly manageable. For larger outdoor systems — especially for offices, shops, and commercial properties in Hyderabad — hiring a professional IP camera installation service gives you a cleaner, more reliable result with proper configuration and warranty support.
If you are ready to get started, reach out for a free site survey and quote for IP CCTV camera installation services in Hyderabad today.