Kukatpally, Hyderabad +91 9346133102 info@smartsecures.com

4-Channel CCTV Camera Installation

Home / Blog / Security Camera Installation
How to Install a 4-Channel CCTV Camera

Security Camera Installation

A 4-channel CCTV camera system is ideal for small to medium-sized properties, providing security coverage for four areas at once. These systems are popular for home security and small business use, offering an affordable and efficient way to monitor key areas. In this guide, we’ll walk you through every step of the CCTV Camera installation process, so you can set up your system with confidence.
Tools and Equipment You’ll Need

Before you start the installation, gather the following tools and equipment:

  • Drill: For mounting the cameras on walls or ceilings.
  • Screwdrivers: To secure camera mounts and adjust camera positioning.
  • Cables: These may include BNC cables for video and power cables for your cameras.
  • DVR: The brain of your CCTV system, where recordings are stored.
  • Monitor: To view live footage and configure settings.

Pre-Installation Planning

Planning is crucial to ensure your CCTV system covers all vulnerable areas. Begin by conducting a thorough survey of your property to decide where cameras should be placed. Pay attention to areas with high foot traffic or valuable assets.

Things to consider:

  • Coverage area
  • Available power outlets
  • Network access points

Understanding the Components of a 4-Channel CCTV Camera System

Your 4-channel CCTV system typically includes:

  • DVR (Digital Video Recorder): The main unit where footage is stored.
  • Cameras: Four security cameras that connect to the DVR.
  • Cables: Video and power cables that link each camera to the DVR.
  • Power supplies: To ensure cameras and DVRs remain powered.
  • Monitor: To view the camera feeds.

Choosing the Right Locations for Cameras

Choosing optimal locations for your cameras will determine the effectiveness of your surveillance system. Install cameras at entry points like doors, gates, or high-traffic areas.

Tips:

  • Place outdoor cameras at least 9 feet above ground.
  • Keep cameras sheltered from direct sunlight or heavy rain.
  • For indoor cameras, ensure they are out of reach but cover important areas.

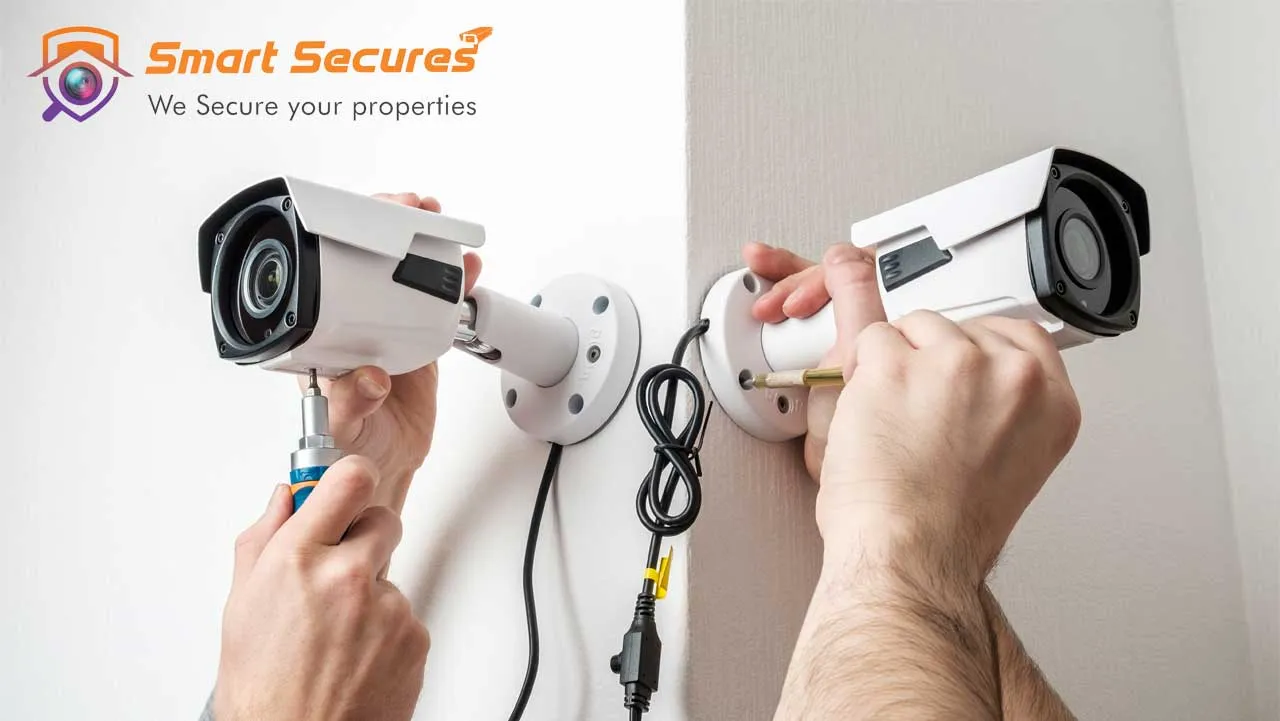
Mounting the Cameras

Once you’ve chosen the right spots, mount your cameras securely.

How to Mount:

  1. Use a drill to create holes for the camera mounts.
  2. Attach the camera to the wall or ceiling using the provided screws.
  3. Adjust the camera’s angle to cover the desired area.
  4. Secure any loose cables.

Wiring the System

Now it’s time to connect your cameras to the DVR.

Steps:

  1. Run the cables from each camera to the DVR unit.
  2. Use BNC cables for video transmission and power cables for power supply.
  3. If necessary, drill small holes through walls to route the cables safely.

 Connecting the DVR

With all the cameras mounted and cables in place, it’s time to connect the DVR.

  1. Plug the BNC cables from the cameras into the DVR’s video input ports.
  2. Connect the DVR to a power source.
  3. Attach the monitor to the DVR using an HDMI or VGA cable.

Configuring the DVR Settings

Once your DVR is powered up, configure the settings:

  • Recording Modes: Choose between continuous recording, motion detection, or scheduled recording.
  • Remote Access: Set up remote viewing using a mobile app or browser by connecting the DVR to your network.
  • Adjust Image Settings: Optimize brightness, contrast, and resolution.

 Testing the System

Before wrapping up the installation, test the system to ensure everything works properly.

  • Check each camera feed on your monitor.
  • Adjust camera angles if necessary to improve coverage.
  • Test recording functions and remote access features.

Troubleshooting Common Installation Issues

Even with a well-executed installation, problems can arise. Here’s how to troubleshoot:

  • No video feed? Check the cable connections.
  • Are cameras not powering up? Ensure the power supply is working.
  • Recording issues? Verify that the DVR’s settings are configured correctly.

Maintenance Tips for Your 4-Channel CCTV System

Proper AMC maintenance ensures your system continues functioning at its best. Regularly clean camera lenses, check for software updates on your DVR and inspect connections to avoid downtime.

Security Considerations for Installing a 4-Channel CCTV Camera System

Don’t forget to secure your system against tampering and cyber threats. Make sure cables are hidden and inaccessible to intruders. For remote access, use strong passwords and update them regularly to protect your system.

When to Call a Professional

If you run into complex issues during installation, or your property has unique security needs, calling a professional CCTV Camera installer can save you time and ensure optimal results. Professionals have the experience to install systems efficiently and troubleshoot more advanced issues.

Conclusion

By following these steps, you can successfully install your 4-channel CCTV camera system. Regular maintenance and occasional system checks will help ensure your property remains secure for years to come.

Frequently Asked Questions

How long does it take to install a 4-channel CCTV camera system?

The installation process typically takes around 3-4 hours, depending on the complexity of the setup and the property layout.


Can I install a 4-channel CCTV system myself?

Yes, with the right tools and preparation, most homeowners can install a 4-channel CCTV system on their own.


What is the difference between wired and wireless CCTV systems?

Wired CCTV systems, like the one described here, use cables for power and data transmission. Wireless systems transmit video data wirelessly but still require power cables.


Can I add more cameras to my 4-channel system?

A 4-channel DVR can only support four cameras. You’ll need to upgrade to an 8- or 16-channel DVR system if you need more.


How often should I perform maintenance on my CCTV system?

You should check your cameras and DVR every three months to ensure everything works properly and clean the camera lenses.

Quick Enquiry

Related Articles


Get In Touch

H.NO : MIG 72/A, 2nd Floor, Kphb Colony,Road No 1, Hyderabad, 500072

info@smartsecures.com

+91 9346 133 102

+91 9154 178 179

Copyrights 2024. All Rights Reserved. | Privacy Policy | Terms and Conditions

Best cctv camera installation Services in Hyderabad