Home > Blog > Install CCTV Cameras Without Professional Help: Easy Setup Tips

In today’s world, security is very important for businesses, industries, and homeowners. With the right CCTV camera system, you can protect your property. Many people hire professionals to install these systems. However, you can also use a self-install CCTV guide.
This guide will help you install security cameras on your own. It includes the steps, equipment, and tips you need for an easy process.
Installing a DIY CCTV camera can save you time and money. This option works well for businesses and homes. It lets you control where to place your security cameras. Here are some benefits of doing it yourself:
Cost-effective: You don’t have to pay for professional installation.
Flexibility: You choose when and where to install the cameras.
Learning experience: You will understand your security system better.
Now, let’s look at the step-by-step process for installing your CCTV cameras.
Before starting the CCTV camera installation, plan your CCTV camera setup. This is very important for businesses and industrial sites, where camera coverage must be thorough.
First, decide your surveillance goals. Do you want to cover entry points, parking lots, or indoor areas?
Next, choose the right camera types. Dome CCTV cameras are good for indoor use in corporate or industrial settings. Bullet CCTV cameras are better for outdoor areas.
Finally, find the best placement. Focus on high-traffic areas, entrances, exits, and blind spots.
Different types of CCTV work well in different places. Here are some popular options for businesses, industries, and home security:
Dome CCTV Cameras: Good for indoor use.
Bullet CCTV Cameras: Perfect for outdoor areas.
PTZ Cameras: Best for watching large spaces since they can pan, tilt, and zoom.
Homeowners should look for easy CCTV camera setups, like wireless or plug-and-play models.
To set up a self-install CCTV camera, you will need these items:
CCTV cameras
DVR or NVR system (for wired setups)
Power cables and Ethernet cables (for wired systems)
Drills, screws, and wall mounts
Monitor and keyboard (for testing)
For home security, you can choose wireless systems. This makes the setup easier and eliminates the need for cables.
Here’s how to install the cameras:
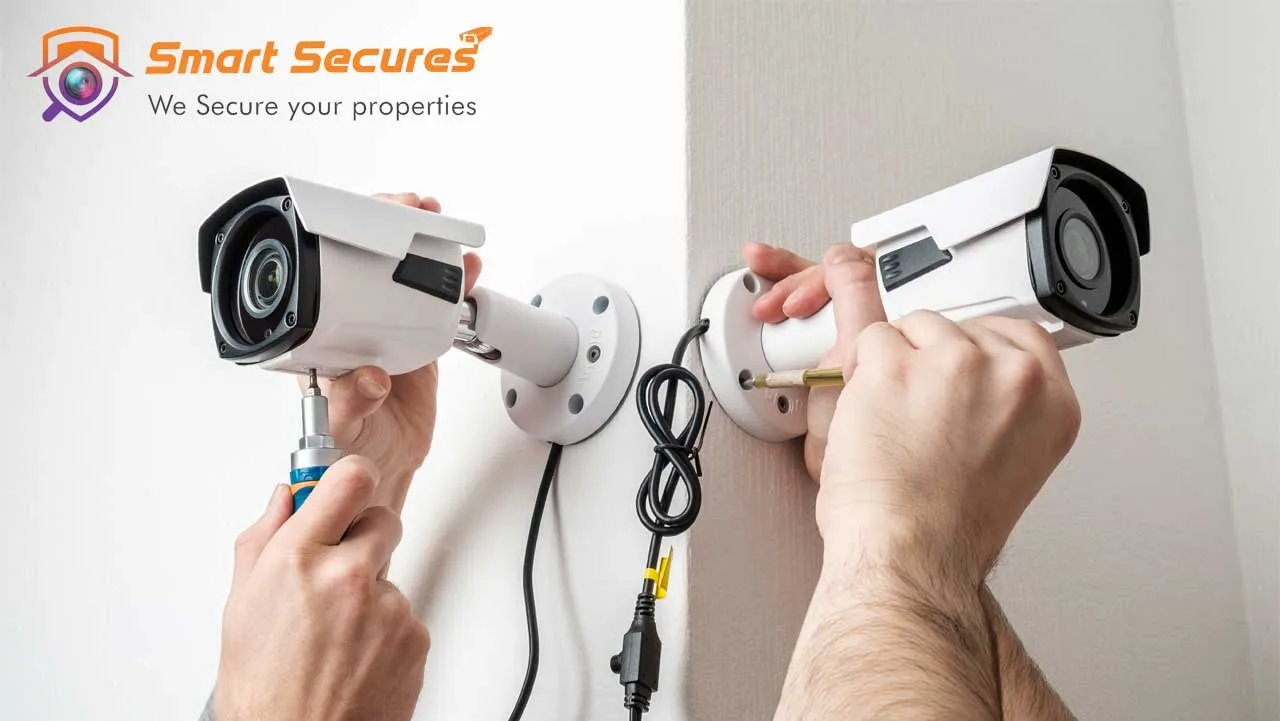
1. Mount the cameras: Use a drill to attach the cameras to walls, ceilings, or poles. Make sure they are secure.
2. Adjust the angles: Check that the cameras cover the area you want without any blind spots.
3. Run the cables (for wired setups): Pass the cables through the walls or ceiling. This step is important for a neat and safe installation.
4. Power up the cameras: Connect them to a power source. Use extension cords if needed.
In business, you will probably use a DVR or NVR system. A DVR means Digital Video Recorder. An NVR means Network Video Recorder. Here’s what to do:
For wired cameras: Connect them to the DVR or NVR using Ethernet or coaxial cables.
For wireless cameras: Connect them to the Wi-Fi network by following the manufacturer’s instructions.
After connecting, link the DVR or NVR system to a monitor. This way, you can view and record footage.
After you install and connect your cameras, it’s important to test the system. This includes:
Checking video quality: Make sure all cameras show clear footage.
Ensuring proper coverage: Check that there are no blind spots.
Adjusting settings: Change brightness, contrast, and motion detection for the best results.
For homeowners, this step helps keep your space safe. Businesses need to cover the entire facility completely.
Text: `Poor placement: Make sure all cameras cover important areas like entry points, exits, and busy zones.
Ignoring power backup can be dangerous. For businesses, a steady power supply is very important. It keeps your surveillance system working, even during power outages.
Not securing the cables: loose or exposed wires can be a safety risk and may cause problems.
Installing CCTV cameras is not complicated. You can set up a security camera system on your own. This applies whether you have a home, a business, or an industrial site.
These simple methods will help you protect your property without hiring professionals. By planning your setup and picking the right cameras, you can quickly install a good security system.
Follow this step-by-step guide to install your CCTV system.
Yes, with proper planning and the right tools, you can install CCTV cameras yourself.
You’ll need a drill, screwdrivers, cable cutters, a level, measuring tape, and a ladder.
Consider the areas you need to monitor and select cameras with appropriate features and resolution for your needs.
Check connections, restart the DVR/NVR, and ensure all cables and power sources are functioning properly.
If you encounter complex issues or require advanced features, a professional can set everything up correctly.

5,852 reviews